Roots Uncovered
The Importance of Cannabis Roots
Who knew that cannabis roots had so many medicinal properties? We start out with a seed, nurture it to grow into this beautiful plant. Then we chop that baby down and throw out the rest. At least that is what I used to do until I stumbled upon an article that discussed all the amazing things the actual roots can help with.
https://www.ncbi.nlm.nih.gov/pmc/articles/PMC5628559/
Upon reading this article I needed to learn more, I wanted to see for myself if this part of the plant truly could help with my chronic back pain. I found more articles that continued to peak my interest and thirst to learn more.
Chopping Time
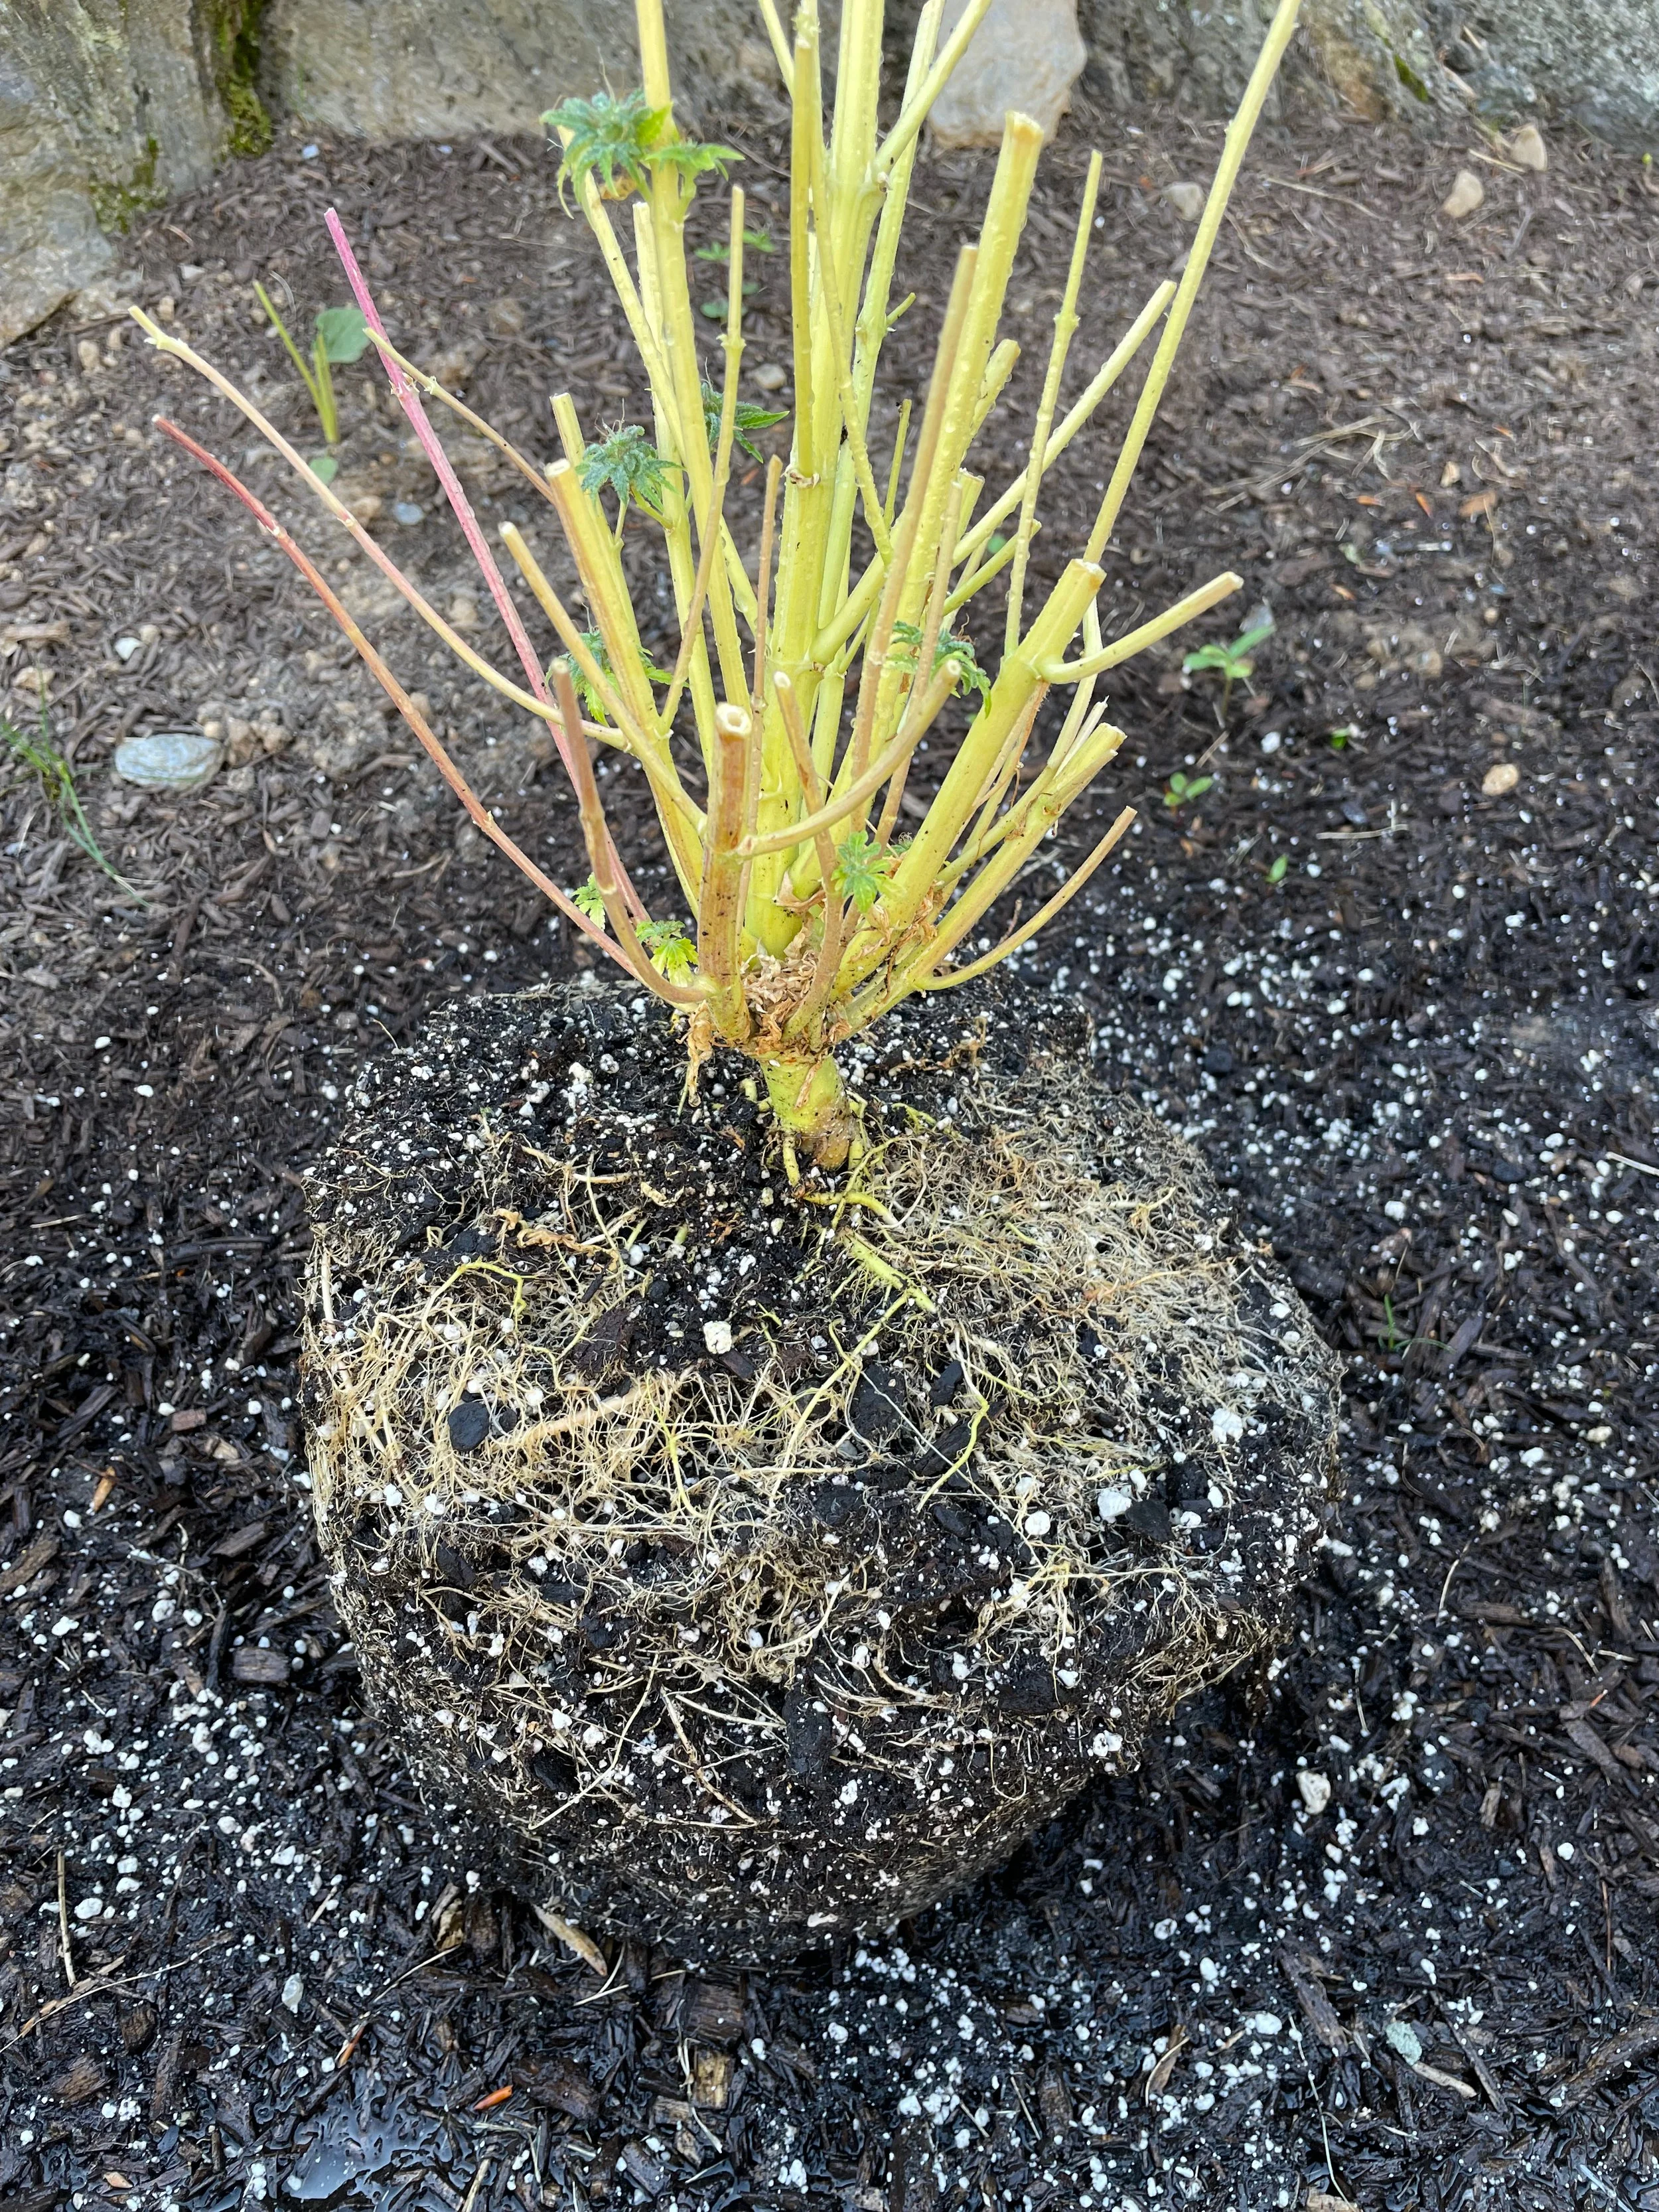
It was time to chop down one of my homegrown plants. I was going to try and make a cannabis root topical. I needed to see for myself how this worked.
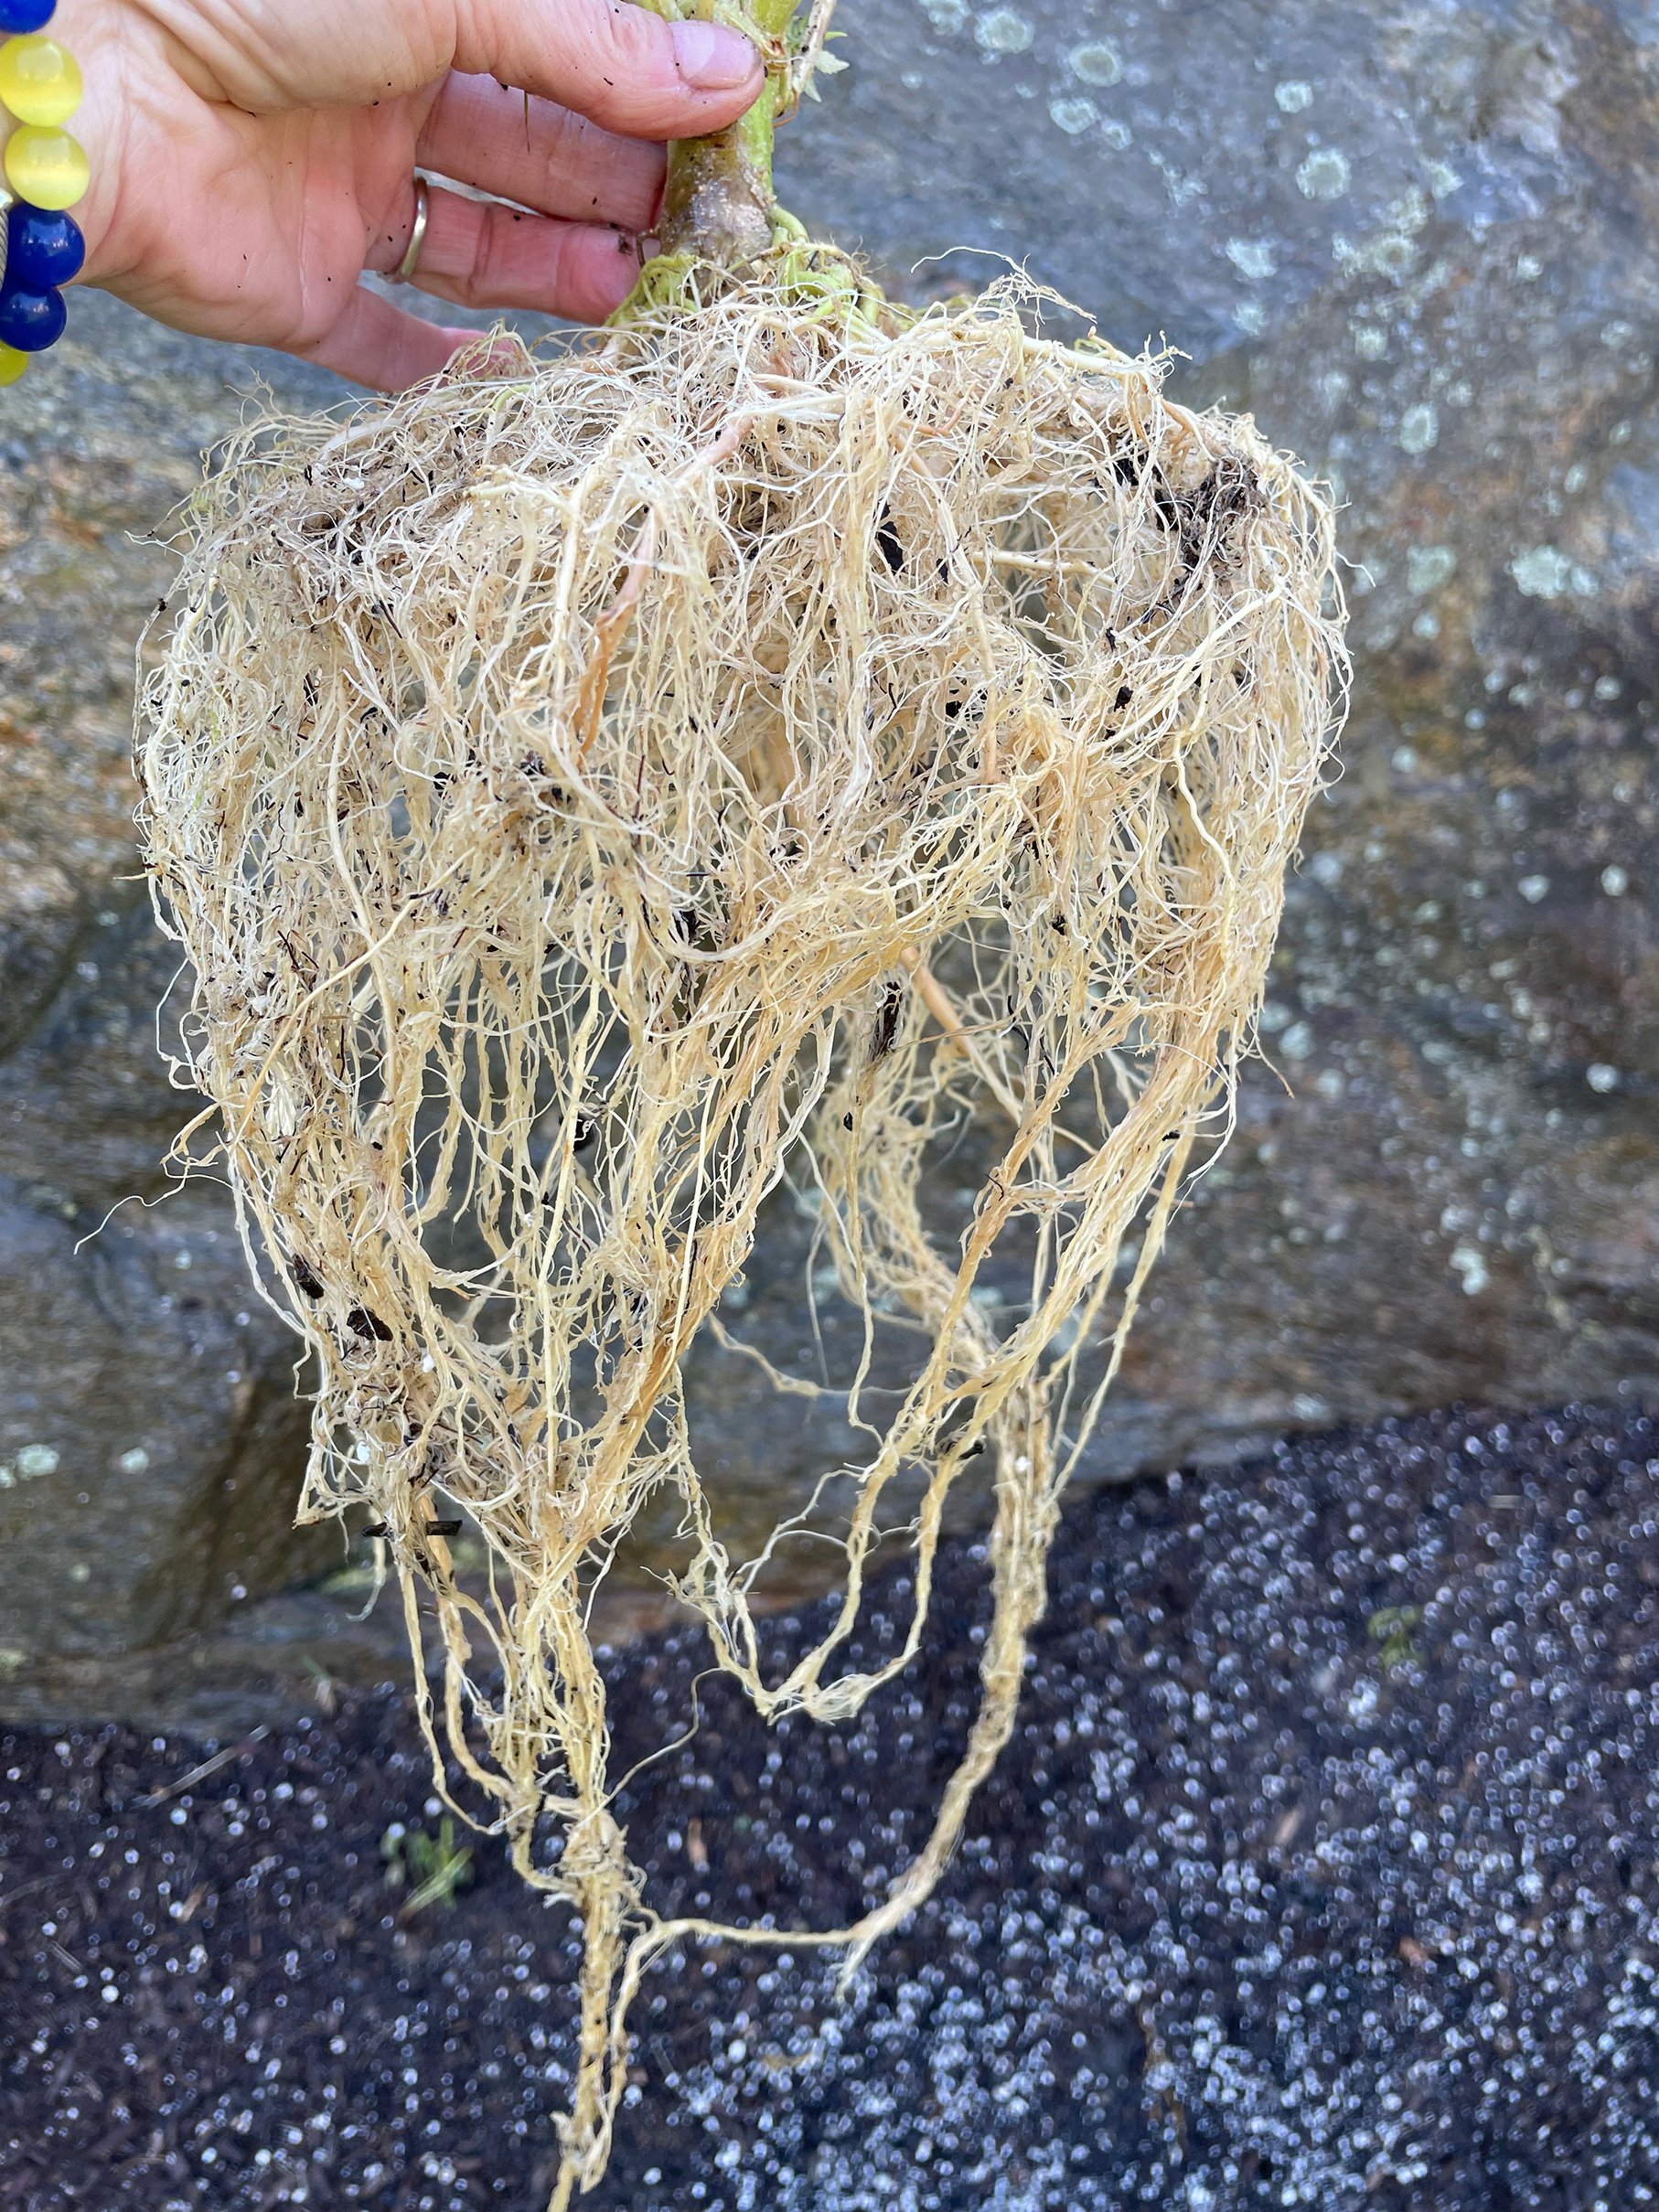
The process isn’t difficult, but time consuming. The hardest part is cleaning the roots, all dirt must be sprayed off. Saying it sounds easy, but what i learned the first time is that this incredible plant, that was grown in a 5-gallon bucket has a very intense, large root system.
ALMOST THERE!
Once you have gotten most of the dirt off the roots with your hose, you will need to carefully continue the process by combing through the delicate areas with your fingers to remove those stubborn clumps. This takes time and patience.
Now that the roots are cleaned, what’s next?
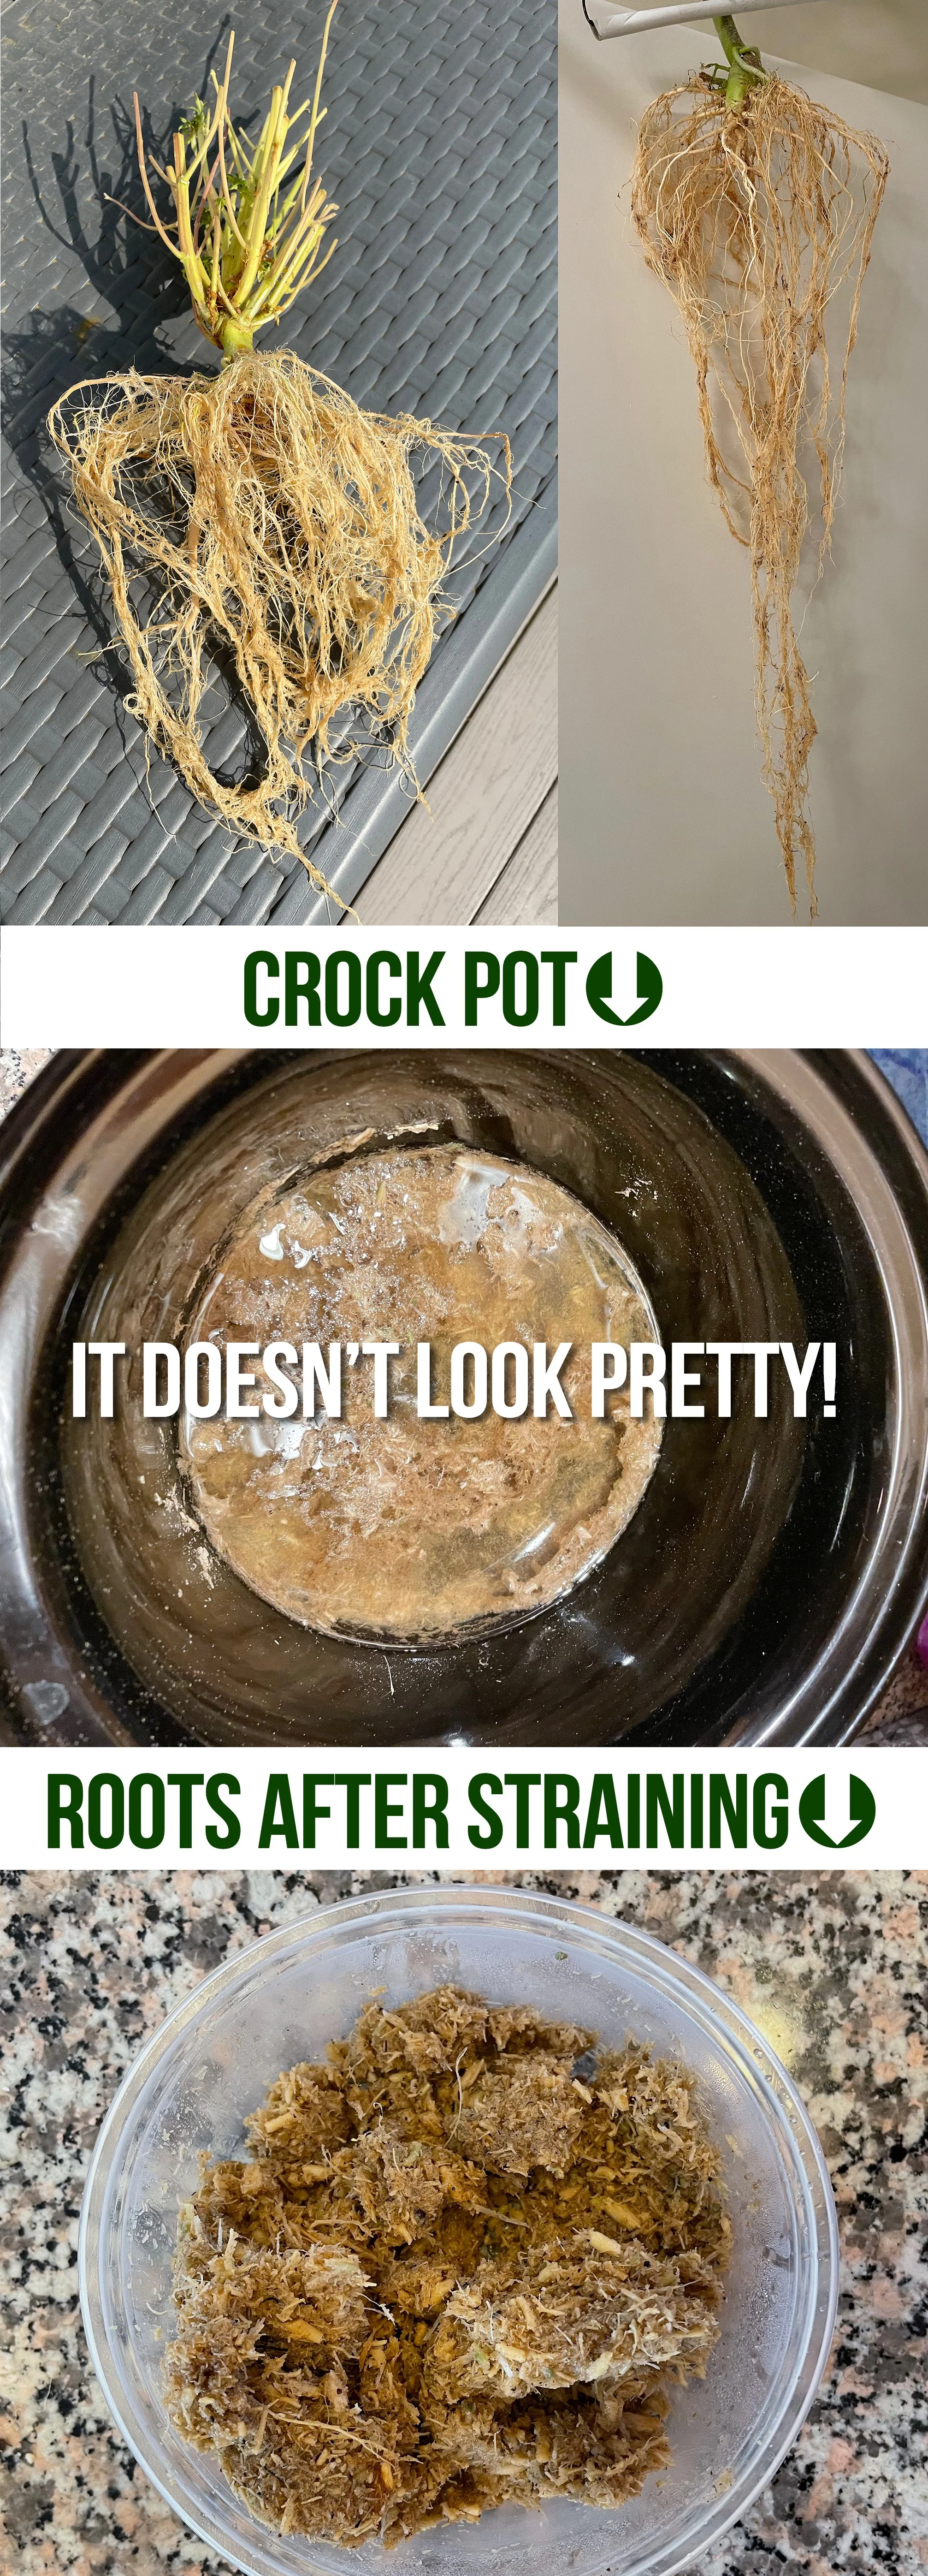
You need to dry them. Find a dry, dark place to do this. For me, it was a bathroom that wasn’t being used. I just hung the root system over the show head (using a hanger). This seemed to work quite well. In a few days, the roots were dry and any little dirt clumps that I missed were easily removed.
Next step. The roots need to be ground down. I used my Magic Bullet to do this. And this is not as easy as it sounds (or maybe my MB has seen better days!). I cut up the roots into small pieces, put in the MB and did small batches at a time. It will grind down where it is almost a powder. Do your best with this, again, not easy unless you have a wonderful devices to do this (my magic bullet did an OK job, but not great). You may find a blender works better, just as long as you find a way to break the root system down.
After this is completed, the easier part begins. I used a crock pot for this next step. If you don’t have a crock pot, you can use a glass mason jar with a tight fitting cap and slow cook it on your stove top. Remember to check often as you don’t want your water to dissipate during this process.
Using organic, non-refined coconut oil such as Nutiva (link below), empty the full jar into the crock pot. I used a 15 oz jar for two root systems. Add about a cup of water so that the coconut oil doesn’t burn. Then add the ground up roots. Cook on low setting and let this simmer for at least 8 hours. I usually do 12+. During this time the cannabis infuses into the coconut oil. You can check it during the course of the cook to make sure it isn’t burning and that there is enough water. As shown, it doesn’t look pretty!.
Once your cook process is done, you will strain the cannabis from the oil. I used an old takeout soup container (make sure it’s big enough). You can use cheese cloth or a extremely fine mesh strainer to do this. You do not want any of the residual root pulp going into the container so you may need to do this process twice. The roots will look like broken up sticks, nothing like what you started with. Once you have finishing straining, you will then take that container and put into the fridge. By doing this, the infused coconut oil will rise to the top and water below. Once the coconut oil solidifies, you can then carefully separate it from the water. I do this over the sink so that the water doesn’t go everywhere. You can use a knife to break the edges of the seal and then the solid coconut oil will pop right out.
Now you may think you are done but you are not!!! Take your solid coconut oil and put into a sauce pan to reheat. Why are we doing this? Because we now need to add some organic beeswax, about 2 oz. The beeswax binds the ingredients and make them semi-solid at room temperature. On low heat, melt down the infused coconut oil and beeswax. At this point you can add essential oils to it. Do your research for which one will work best for you. Some are better for inflammation, some for relaxation, you can decide this. My first time I used peppermint oil.

The Last Step
I found these plastic containers on www.bulkapothecary.com for a great price. I find they are easy to pour into and are wide enough to get the product out of. While this took many hours to make, I have to say, it was so worth it. When my back pain is terrible, I grab one of these containers and slather it on. Within 30 minutes, my pain goes from a 8-9 to a 2-3. What this balm does is amazing. It’s not a cure all but it certainly takes the edge off, especially when used daily. Each batch I make comes out better than the last and I will continue to make this as long as I am growing.